

If you ride often—especially off-road or enduro—it’s just part of the game. But don’t worry, it’s not as hard as it sounds. Here’s a friendly guide to help you through it.
We’ve put together a quick and helpful video where we show each step in action.
Watch it now on our Instagram: @endurochannel
First Things First: Soak Your Plates
Before you touch anything on your bike, soak your new clutch plates in fresh engine oil. Let them sit for at least 20 minutes. This helps them absorb oil and prevents early wear or slipping once you start riding again.
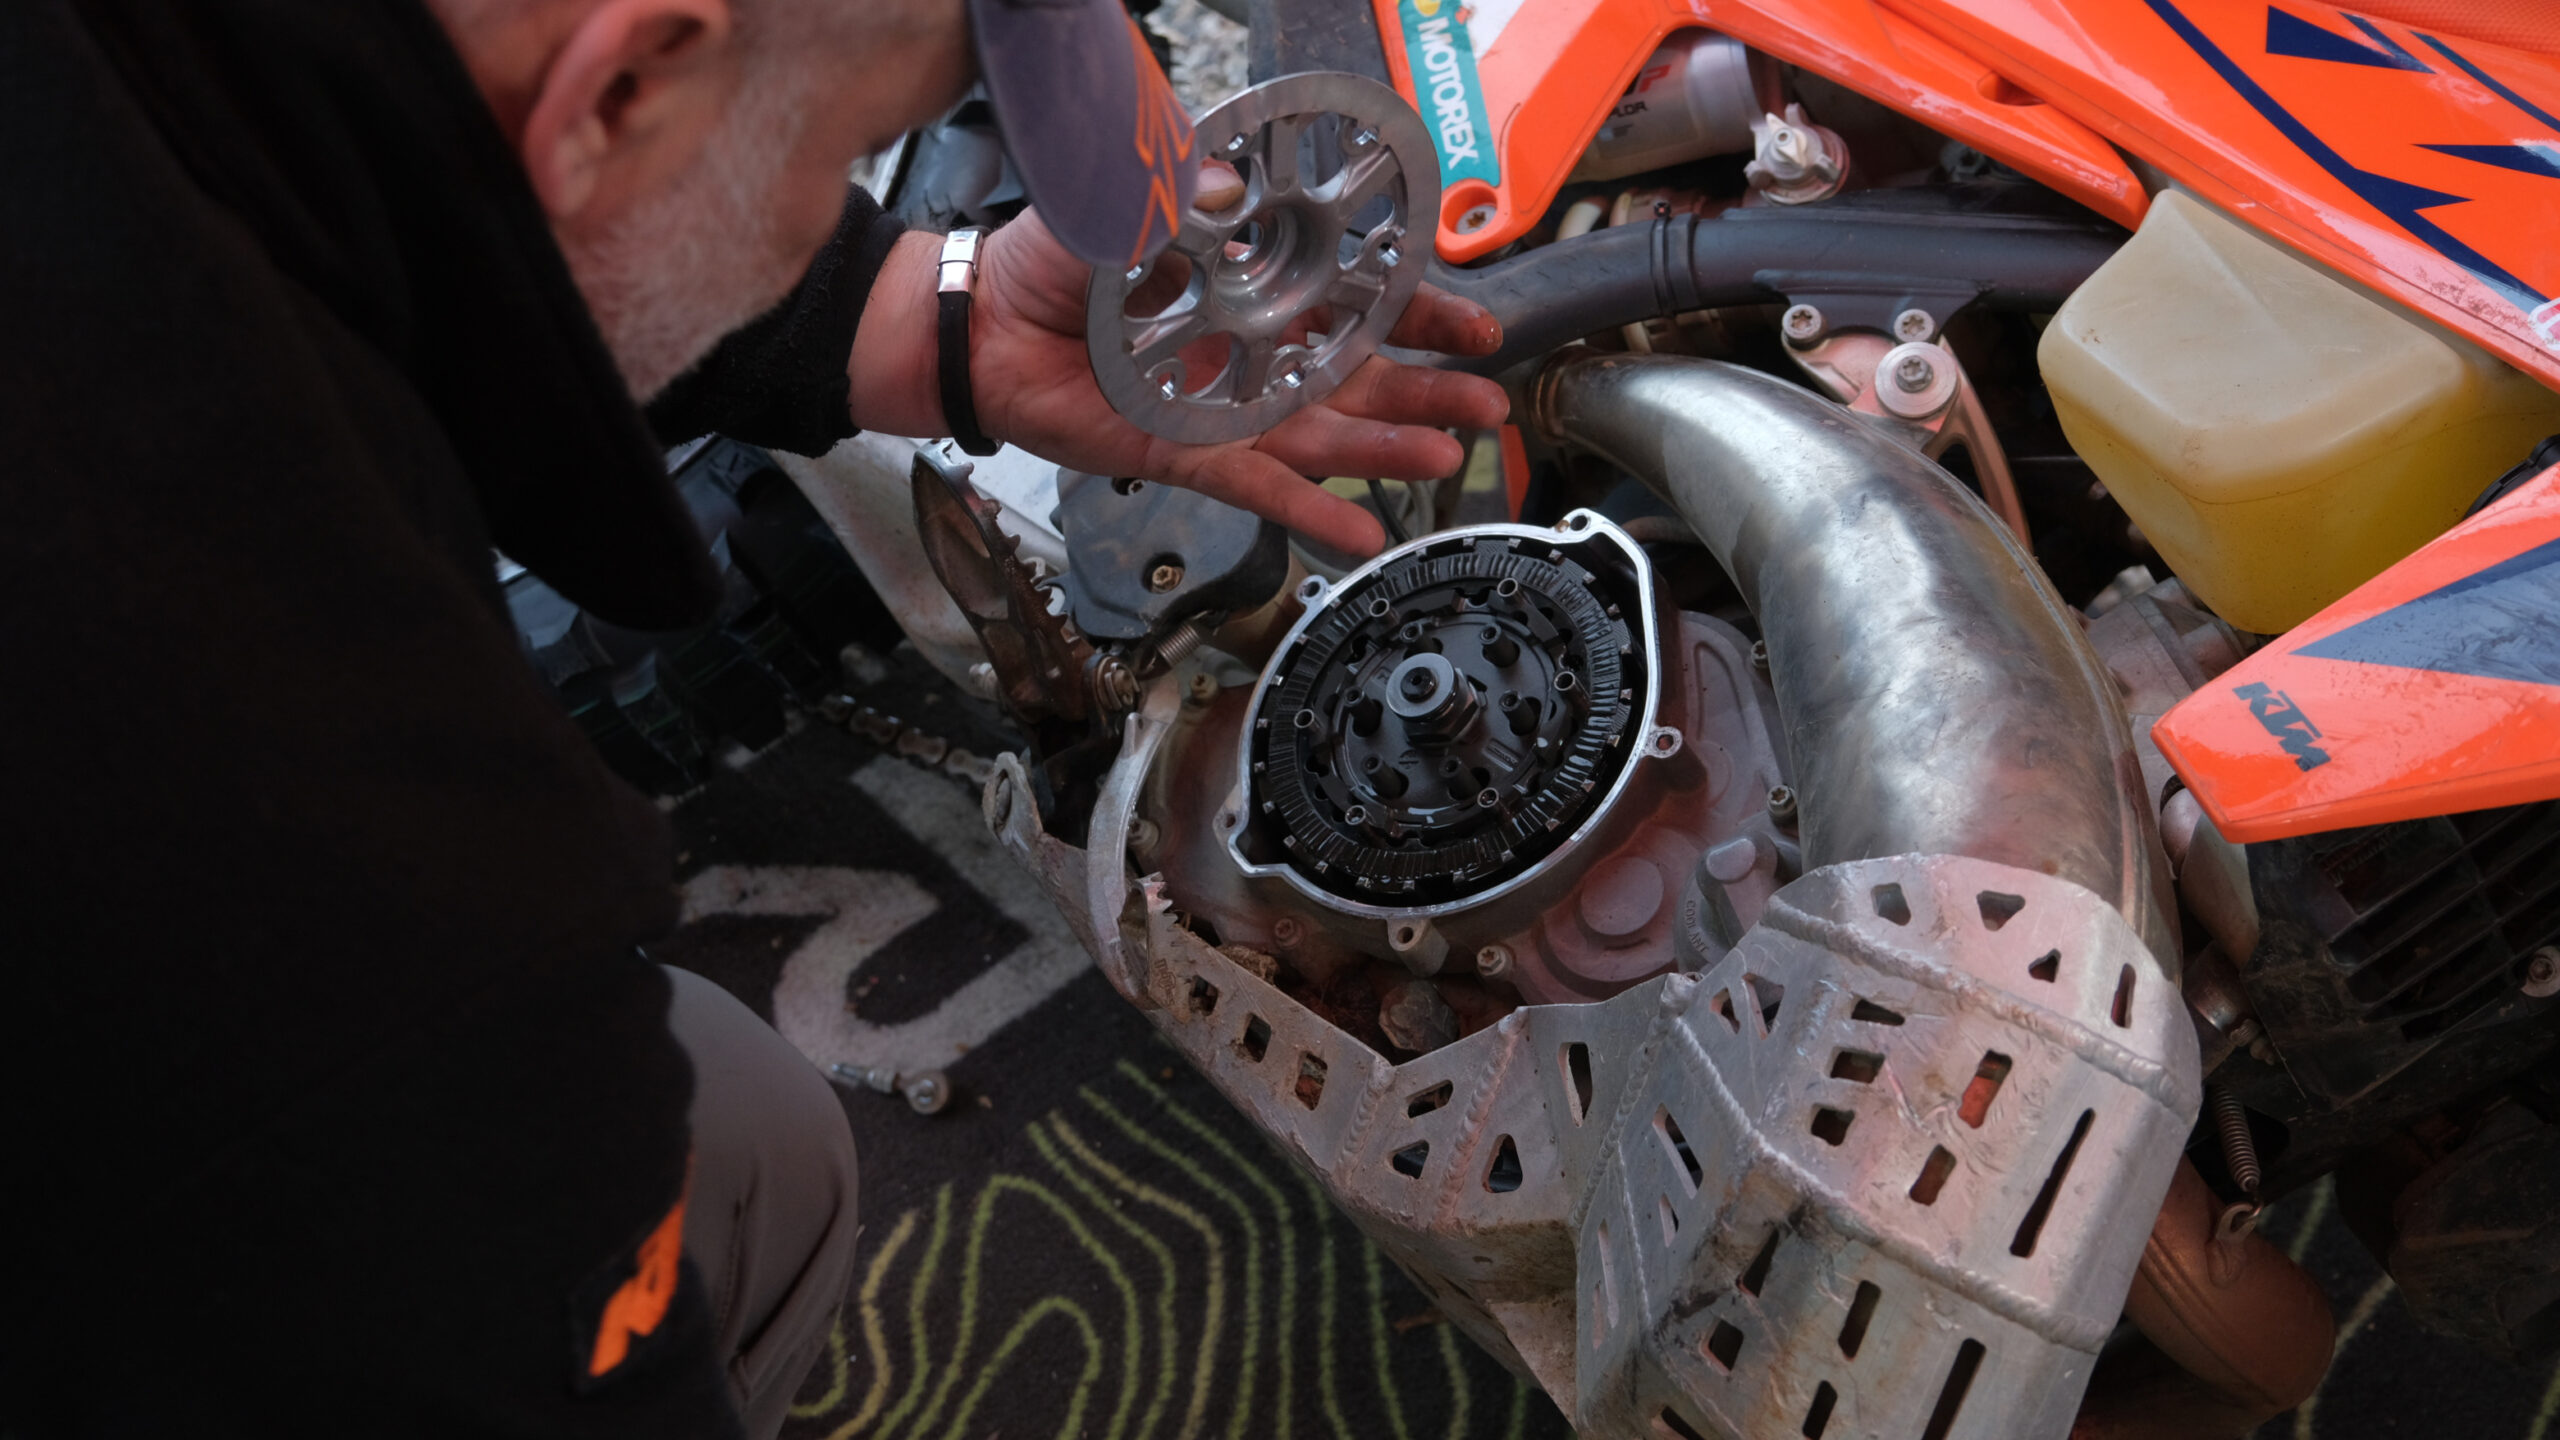
Take the Clutch Cover Off (Gently!)
Now it’s time to remove the clutch cover. Just one thing—don’t rush this part. Loosen the bolts evenly, a little at a time, in a criss-cross pattern. This protects the cover and the case from damage or cracks. You really don’t want to strip a bolt or break anything here!
Burnt Toast Smell? That’s Your Clutch!
If your clutch smells like burnt toast after a ride, that’s a classic sign. Your old plates are probably done. Hard riding, dragging the clutch, or lots of technical terrain can cause them to overheat and wear out.
KTM vs Japanese Bikes—Know the Difference
When installing new plates, pay attention to the order.
On KTM bikes, the clutch stack starts and ends with metal plates.
On most Japanese bikes, the outer plates are fiber, not metal.
If you mix this up, your clutch won’t work properly—so take your time and do it right.
Double-Check Everything
Once the new plates are in, check everything again. Are the springs tight? Is the clutch basket clean? Did the gasket sit properly? A second look now can save you a headache later.
Start It Up and Go Ride!
Start your bike and test the lever feel. If everything feels smooth and the clutch engages well—you’re ready to hit the trails again. Nothing beats the feeling of fixing your own bike and getting back out there.
Everyone has their own way of doing things—do you?
Drop your thoughts in the comments and let’s help each other ride better, longer, and smarter.


